
Because Kubectl is the new SSH
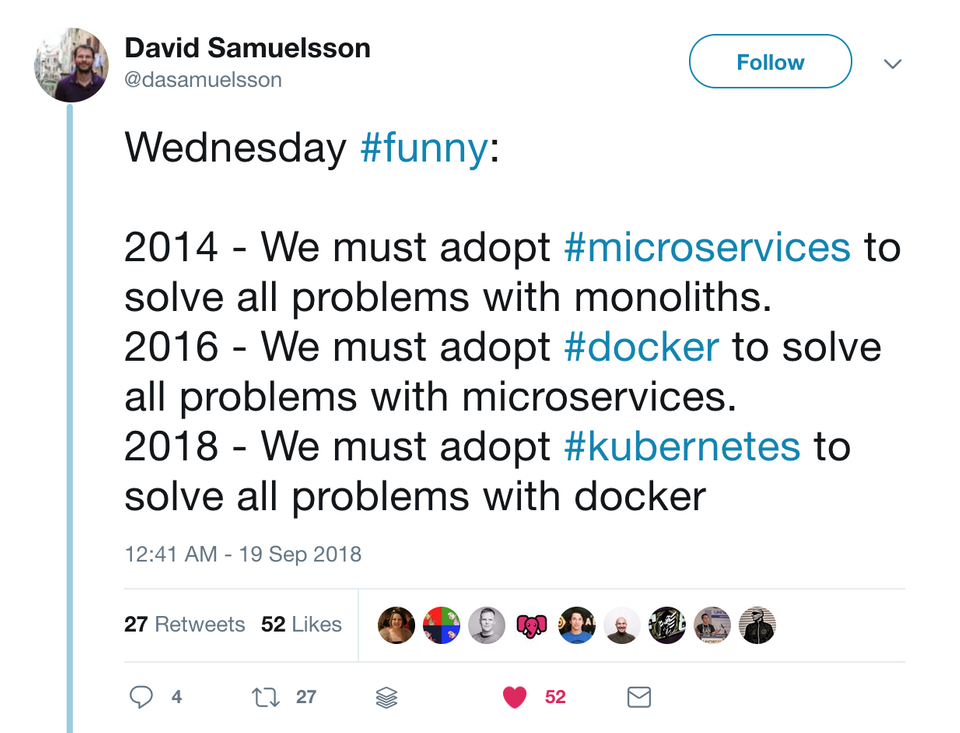
We must use Helm to solve all Kubernetes Manifest Problems.
We must use Kubeapps and ChartMuseum to solve all Helm problems.
The article is written assuming you have a
1) Functional OKE Cluster
2) SSH access to your worker nodes
3) Helm and Tiller are up and running
You have CLI Access to your OCI (Oracle Cloud Infrastructure Tenancy
If you don’t refer links below.
Setup OKE
CLI Access to OCI
Quickstart
_Tutorial — Launching Your First Windows Instance_docs.cloud.oracle.com

“bird’s photo of cityscape” by chuttersnap on Unsplash
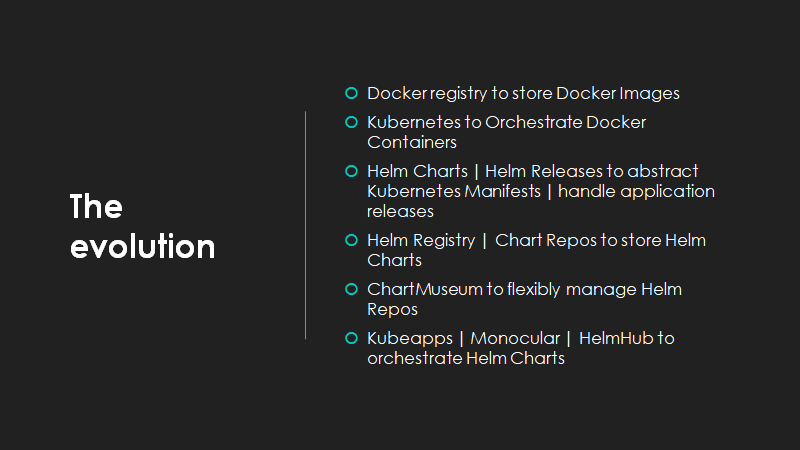
Kubeapps Setup
Step 1: Default storage class “OCI”
kubectl apply -f https://github.com/oracle/oci-volume-provisioner/releases/download/0.10.0/storage-class-ext3.yaml
kubectl apply -f https://github.com/oracle/oci-volume-provisioner/releases/download/0.10.0/storage-class.yaml
kubectl patch storageclass oci -p '{"metadata": {"annotations":{"storageclass.kubernetes.io/is-default-class":"true"}}}'
Step 2: Install kubeapps using Helm
helm init --upgrade
helm repo add bitnami https://charts.bitnami.com/bitnami helm install --name kubeapps --namespace kubeapps bitnami/kubeapps --set frontend.service.type=LoadBalancer
Setting the flag frontend.service.type=LoadBalancer is important as it exposes your service through the OCI Load Balancer. pvcs are not created during the process as it MongoDB is used only as a cache and does not require persistence
The apprepository sometimes refuses to start because it does not have the permissions to list cronjobs that are triggered by apprepository jobsto sync charts, solution to this would be to create a clusterrolebinding that allows it to do so.
Step 3: Verify Installation
kubectl -n kubeapps get crd
Should yield an output that looks like this
┌──────────────────────────────┬──────────────────────┐
│           NAME               │      CREATED AT      │
├──────────────────────────────┼──────────────────────┤
│ apprepositories.kubeapps.com │ 2018-11-08T12:12:41Z │
└──────────────────────────────┴──────────────────────┘
Next Step is to get the External IP of the Load Balancer that exposes this service

Step 4 : Login to Kubeapps Dashboard
When you hit the IP of Kubeapps dashboard you should see a welcome screen such as this
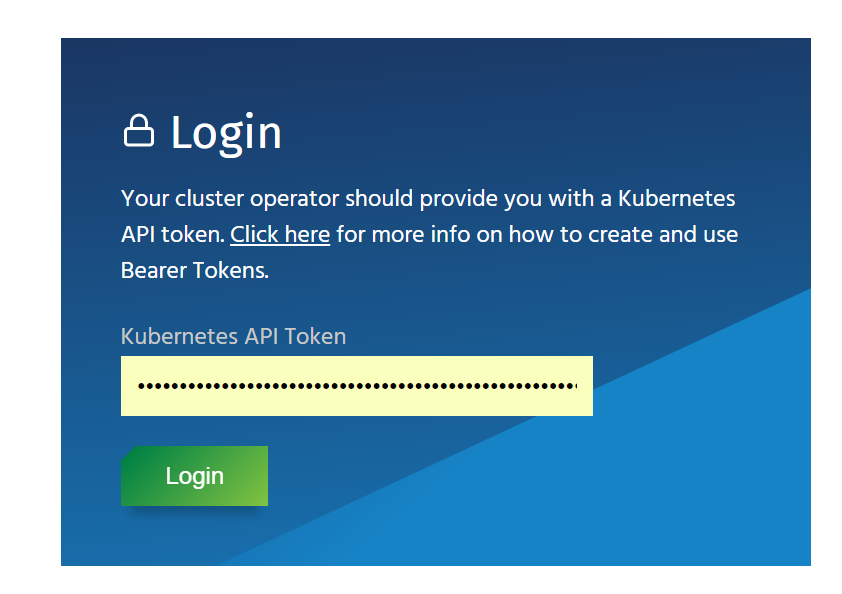
Step 5: Generate Login Token
Depending on your cluster’s RBAC privilege rules and what amount of rights you wish to grant to the kubeapps-operator you set the clusterrolebinding
┌─────────────────────────────────────┐
│ CREATE SERVICE ACCOUNT & BINDING │
└─────────────────────────────────────┘
kubectl create serviceaccount kubeapps-operator
kubectl create clusterrolebinding kubeapps-operator --clusterrole=cluster-admin --serviceaccount=default:kubeapps-operator

┌──────────────────┐
│ GET SECRET TOKEN │
└──────────────────┘
kubectl get secret $(kubectl get serviceaccount kubeapps-operator -o jsonpath='{.secrets[].name}') -o jsonpath='{.data.token}' | base64 --decode
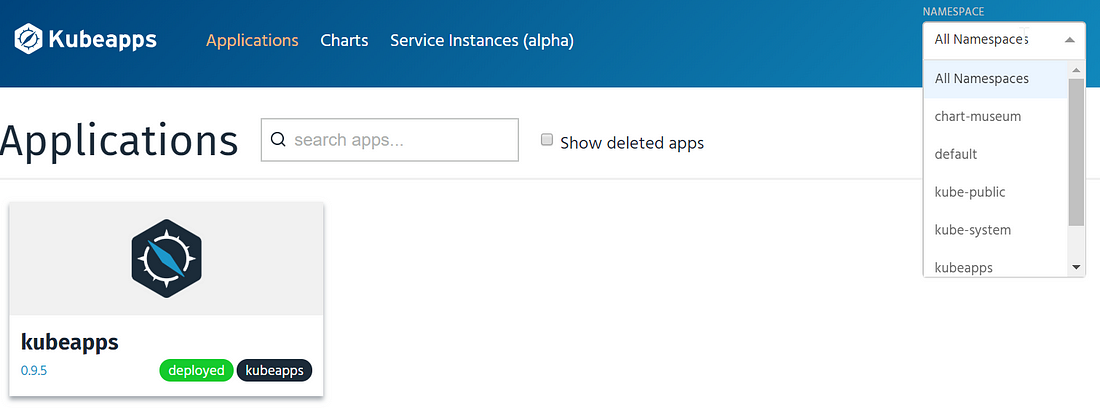
Step 6: View your Dashboard
Documentation around the Dashboard, add some of the pre-defined repos such as
Manage Releases and Deployments
Manage Existing Releases
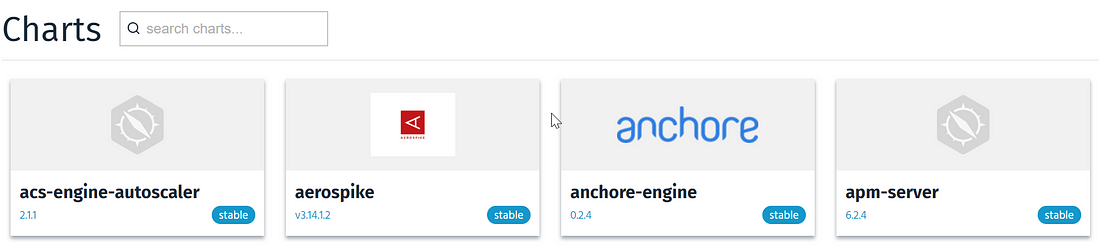
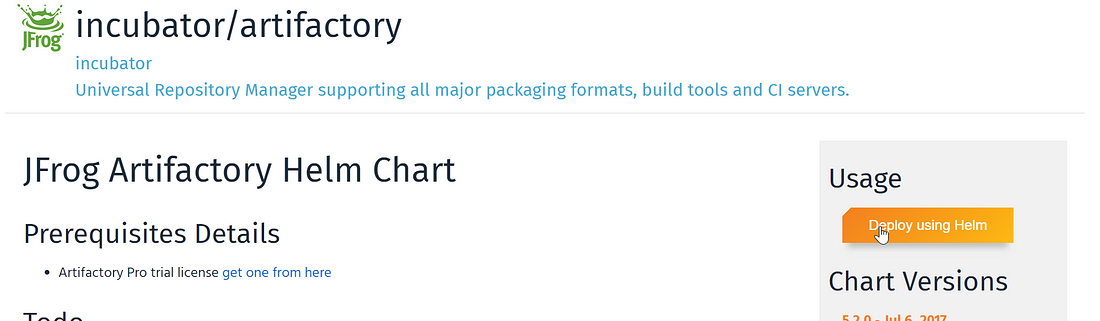
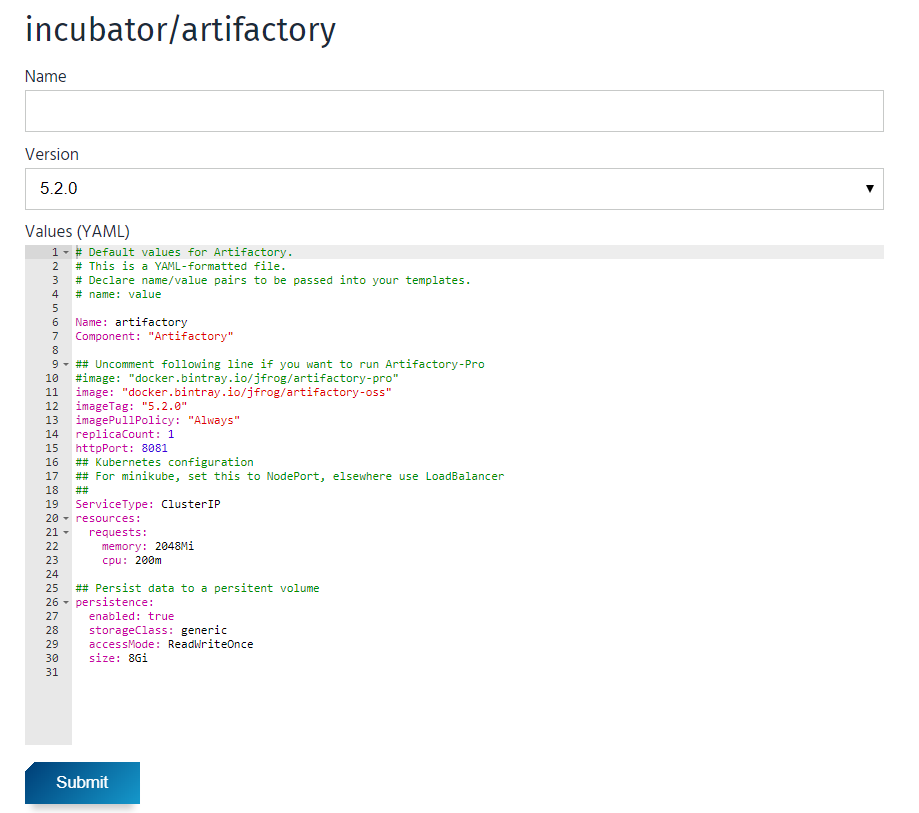
Click to customize and deploy charts
Select one of the charts
Customize the values.yaml
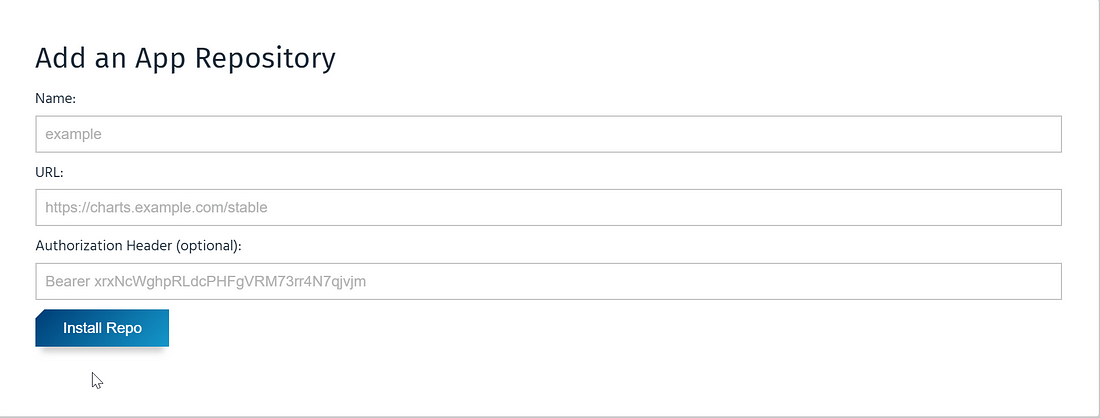
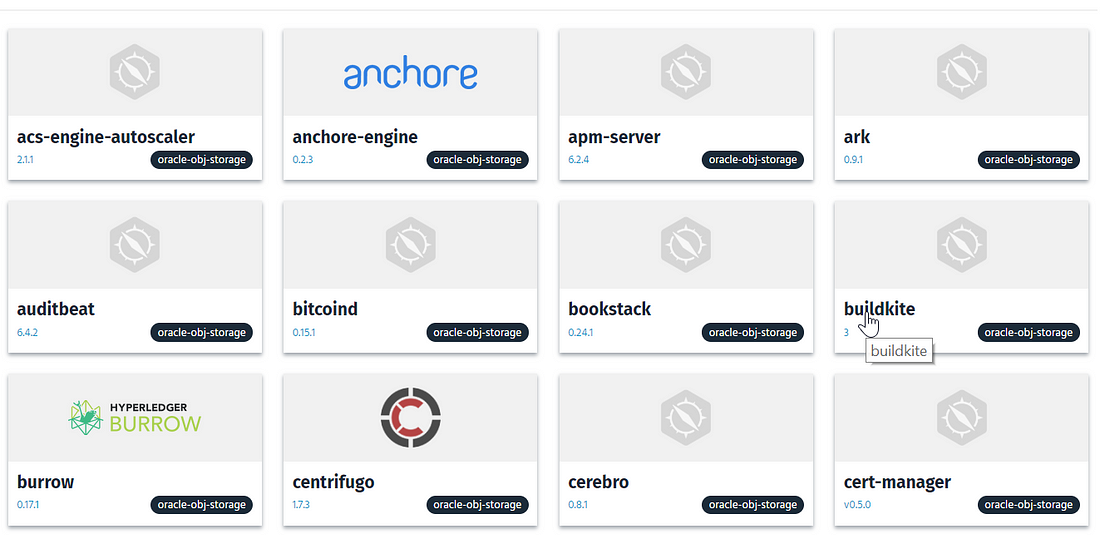
If none of these charts show up , you could always add chart repositories in the App repositories section where you enter the URL of the repository
Add new Repositories

ChartMuseum setup
1. Yes you may install ChartMuseum anywhere and it can use Local Storage or Object Storage. 2. This article is written keeping Oracle object storage in mind
We will run Chart Museum as a simple Web Server on a VM and not take the helm route. Go to the VM where you wish to act like your chart museum server. In my case, I chose one of my Worker Nodes as the VM to run chart museum
.-----------------.
| Download Binary |
'-----------------'
curl -LO https://s3.amazonaws.com/chartmuseum/release/latest/bin/linux/amd64/chartmuseum
.--------------------.
| Install and verify |
'--------------------'
$ chmod +x ./chartmuseum$ mv ./chartmuseum /usr/local/bin$ chartmuseum --version
Start the Chart Museum WebServer:
Before starting the ChartMuseum server, make sure the oci-cli is installed and configured because API Signing Key which is used to authenticate a user gets registered when you setup the CLI from the same machine.
- The article assumes that the security lists for the appropriate VM to allow a TCP connection to the given port is created.
- Go to
oci object storagecreate an<object storage bucket> -
Make sure you have the
ocidof thecompartmenwhere thebucketis created//===============================
|| Start the Chart Museum Server || \===============================// chartmuseum –debug –port=8080 \ –storage=”oracle” \ –storage-oracle-bucket=”" \ --storage-oracle-prefix="" \ --storage-oracle-compartmentid="ocid1.compartment.oc1..aaaaaaaa"
Go to the machine where you intend to use your helm client and run
.------------------------------.
| Install the Helm Push Plugin |
'------------------------------'
helm plugin install https://github.com/chartmuseum/helm-push
Time to Test the **helm push** functionality:
┌──────────┐│ Workflow │└──────────┘1) Add a common repo2) Fetch a packaged chart3) Add your ChartMuseum Repo 4) Push packaged chart (.tgz) to our Chart Museum Repo┌──────────────┐│ Instructions │└──────────────┘1) helm repo add incubator https://kubernetes-charts-incubator.storage.googleapis.com/2) helm fetch incubator/logstash3) helm repo add my-ociobj-chart-store <chartmuseumserver-ip:8080> 4) helm push logstash-0.9.6.tgz my-ociobj-chart-store
If push is successful you can see the object under the bucket in the object store. Everything is set and you need to perform one last step
Setup nohup for the ChartMuseum process:
To make sure terminal logout does not affect the dependent process
nohup chartmuseum --port=8080 --storage="oracle"\--storage-oracle-bucket="chart-museum-bucket" \ --storage-oracle-prefix="" --storage-oracle- compartmentid="ocid1.compartment.oc1..aaaaaaaa" &
Integrate Custom Chart Museum Repo to Kubeapps
Follow same process that was followed to add any other chart repo. In our case
< Any Name of your Choice > - Name of Repo<ip of chart museum server:8080> - Path to Chart< Bearer Token > - Secure Auth to Chart Museum Repo

# Token must be configured when the ChartMuseum Server is setup
The output should look like this :)
11 clapsApplause from Ravi Pinto and 4 others
 Custom Steps with Wercker